Showing posts with label iPod touch 3 jailbreak. Show all posts

Monday, July 11, 2011

JailbreakMe Update Now Available as 'Essential Upgrade' in Cydia


Comex has released an update to JailbreakMe as an 'Essential Upgrade' that can be installed via Cydia, saurik reports.

So, @comex made some fixes to the kernel patches for JailbreakMe, and we are pushing them as an "Essential Upgrade"... I hope this works! :(

To be clear: do /not/ go back to jailbreakme.com and "redo" the jailbreak; instead, just open Cydia, and accept the new "Essential Upgrade".

This update should fix the issue with the Camera Connection Kit that we reported on earlier.

If you haven't already jailbroken your device you can find instructions on how to do so here:
iPhone
iPad
iPod touch


*thanks iclarified*

Send us a story or tip @ TipsForLimerain.com@gmail.com and follow our pages for the latest limera1n, rubyra1n, and all tech stories, follow us on Twitter at @iphonepixelpost or @limerain_com
And like our Facebook page www.iPodSets.com
- Posted using my iPhone 4

Wednesday, July 6, 2011

How to Jailbreak Your iPhone 4, 3GS, iPad 1, iPad 2, iPod touch 3, and iPod touch 4 Using JailbreakMe 4.3.3


These are instructions on how to jailbreak your idevice firmware versions supported:
● iPad1: 4.3 through 4.3.3
● iPad2: 4.3.3
● iPhone3GS: 4.3 through 4.3.3
● iPhone4: 4.3 through 4.3.3
● iPhone4-CDMA: 4.2.6 through 4.2.8
● iPod touch 3g: 4.3, 4.3.2, 4.3.3
● iPod touch 4g: 4.3 through 4.3.3
using JailbreakMe.

If you are already on iOS 4.3.3 or iOS 4.2.8 you can skip the first five steps of this tutorial.

*Remember that updating to iOS 4.3.3 will update your baseband and perhaps ruin your chances of an unlock. Use TinyUmbrella (Mac, Windows) to update the iPhone 4 to iOS 4.3.3 without updating the baseband.
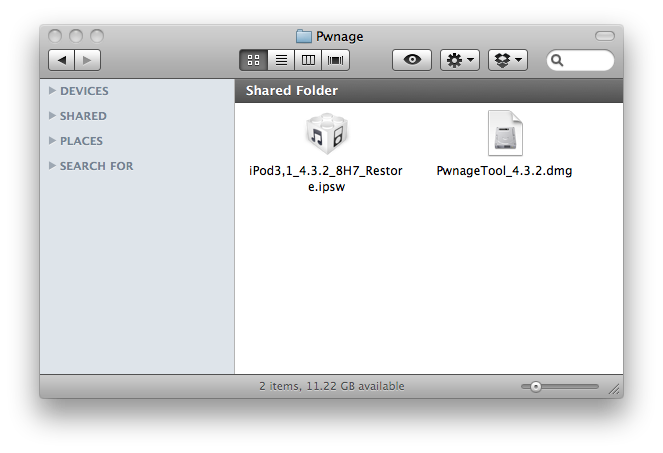
Step One
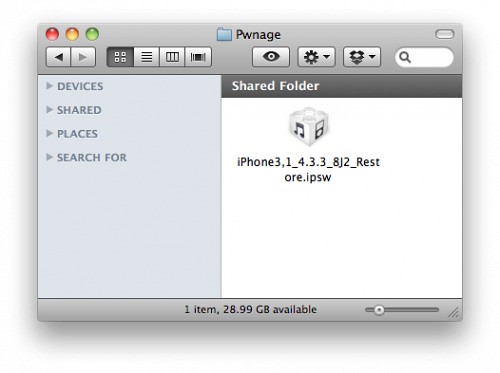
Create a Pwnage folder on your desktop and place the iOS 4.3.3 or iOS 4.2.8 (Verizon CDMA) ipsw in it.

You can download the ipsw for your device from here:
4.3.3 (3GS): iPhone2,1_4.3.3_8J2_Restore.ipsw
4.3.3 (4 GSM): iPhone3,1_4.3.3_8J2_Restore.ipsw
4.2.8 (4 CDMA): iPhone3,3_4.2.8_8E401_Restore.ipsw
4.3.3 (3G): iPod3,1_4.3.3_8J2_Restore.ipsw
4.3.3 (4G): iPod4,1_4.3.3_8J2_Restore.ipsw

4.3.3 (iPad 1): iPad1,1_4.3.3_8J3_Restore.ipsw
4.3.3 (iPad 2 Wi-Fi): iPad2,1_4.3.3_8J2_Restore.ipsw
4.3.3 (iPad 2 GSM): iPad2,2_4.3.3_8J2_Restore.ipsw
4.3.3 (iPad 2 CDMA): iPad2,3_4.3.3_8J2_Restore.ipsw


Step Two
Connect your iDevice to the computer and launch iTunes.


Step Three
Select your iDevice from the list of devices on the left


Step Four
Hold down the Option (Mac) or Shift (Windows) key and click the Restore button.


Step Five
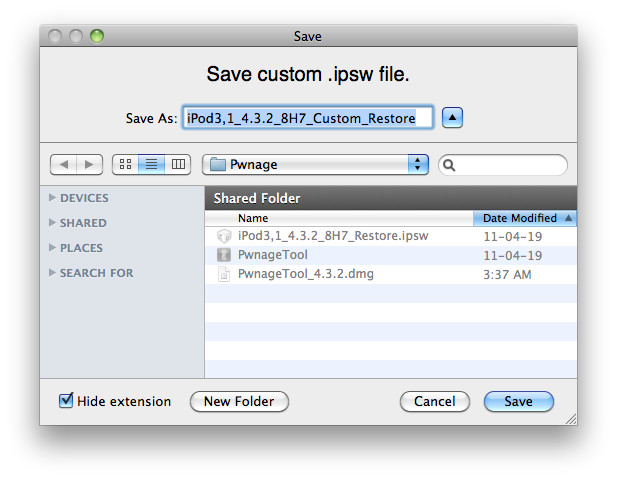
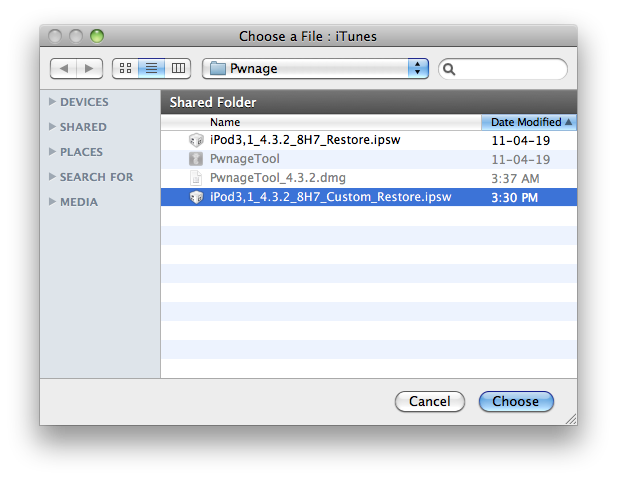
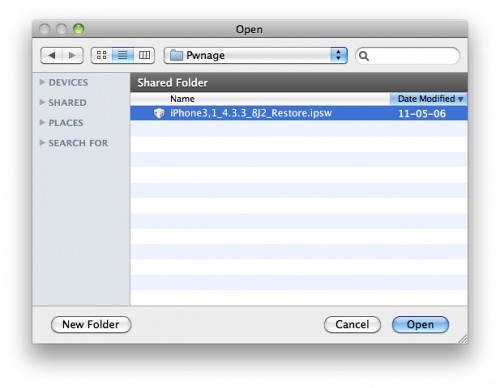
Select the iOS 4.3.3 ipsw from the Pwnage folder on your desktop and click Open.


Step Six
Once your iDevice is running iOS 4.3.3, press to launch Safari from your desktop.


Step Seven
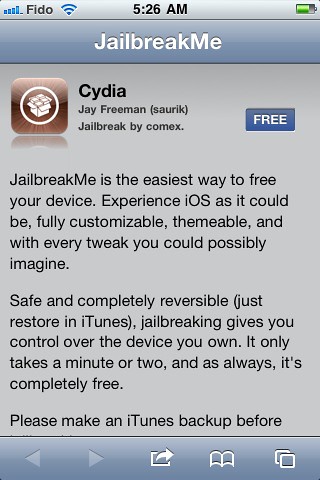
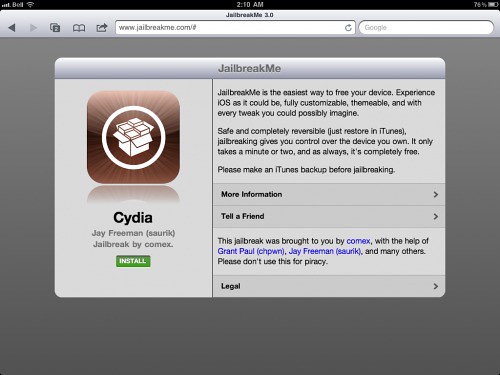
Navigate to http://www.jailbreakme.com and press the Free button.


Step Eight
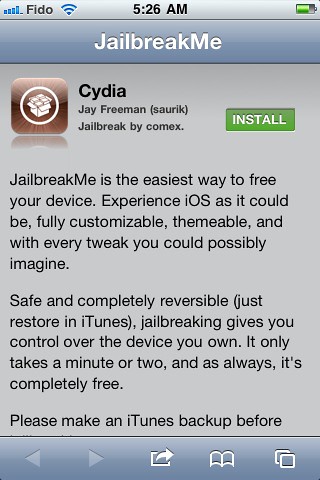
Press the Install button.


Step Nine
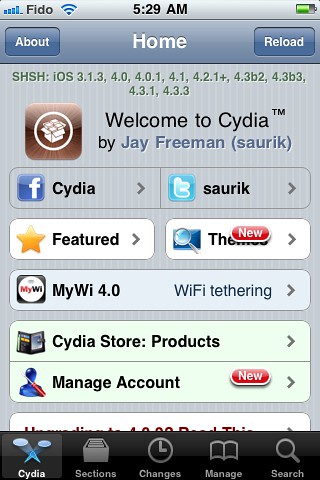
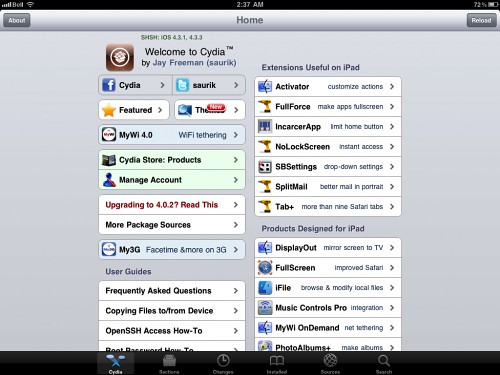
Safari will now close and Cydia will download and install.


Step Ten
Press to launch Cydia and enjoy your jailbroken iDevice!


***Thanks goes to Comex for his hard work on this impressive jailbreak!***

*thanks iclarified*

If you have a story or tip email us :TipsForLimerain.com@gmail.com For the latest limera1n, rubyra1n, and all tech stories, follow us on Twitter at @iphonepixelpost or @limerain_com
And like our Facebook page www.iPodSets.com
- Posted using my iPhone 4

Tuesday, April 26, 2011

How to Jailbreak Your iPod Touch 3G Using PwnageTool (Mac) [4.3.2]

These are instructions on how to jailbreak your iPod Touch 3G on iOS 4.3.2 using PwnageTool for Mac.

This tutorial can be used for all devices compatible with pwnagetool 4.3.2 however each device requires a deferent size partition, for device specific tutorials please look here


Step One
Make a folder called "Pwnage" on the desktop. In it, you will need a couple of things. PwnageTool 4.3.2, found here.

You will also need the 4.3.2 iPod Touch firmware.
4.3.2 (3G): iPod3,1_4.3.2_8H7_Restore.ipsw

When downloading the IPSW file, it is best to download it with Firefox since Safari often auto extracts it!


Step Two
Double click to mount PwnageTool then drag the PwnageTool icon into the Pwnage folder.


Then from the Pwnage folder double click to launch the PwnageTool application.


Click Ok if presented with a warning.


Step Three
Click to select Expert Mode from the top menu bar


Step Four
Click to select your iPod. A check-mark will appear over the image of the phone. Click the blue arrow button to continue.


Step Five
You will be brought to the "Browse for IPSW" page. Click the Browse for IPSW... button.


From the popup window select your firmware from the Pwnage folder then click the Open button.


Step Six
You will then be brought to a menu with several choices. Click to select General then click the blue arrow button.


The General settings allows you to decide the partition size.


The Cydia settings menu allows you to create custom packages so you do not have to manually install the necessary them later.


Click to select the Download packages tab. Then click the Refresh button to display all the available packages. Double clicking the package you want will download it and make it available in the Select Packages tab.


Checkmark the ones you want then Click the blue arrow button.


The Custom Packages Settings menu displays listed package settings for your custom IPSW. For know leave these settings as is. Click the blue arrow button to continue.


Step Seven
You are now ready to begin the pwnage process! Click the Build button to select it then click theBlue arrow button to begin.


Step Eight
You will be asked to save your custom .ipsw file. Save it to your Pwnage folder you created on your Desktop.


Your IPSW is now being built. Please allow up to 10 minutes.


You will be asked to enter your administrator password. Do this then click the OK button.


Step Nine
Once your ipsw has been built you will be asked to connect your iPod to the computer. Once it detects your device PwnageTool will guide your through the steps to putting your iPod into DFU mode.


Press and hold the power and home buttons for 10 seconds.


Then release the power button and continue holding the home button for 10 seconds.


Once your iPhone is successfully in DFU mode, PwnageTool will prompt you to launch iTunes.


Step Ten
Once In iTunes, hold the Alt/Option key and click Restore.


Step Eleven
Navigate to the Pwnage folder on your desktop using the dialog window that appears. Select the custom IPSW that was created and click the Choose button.


Step Twelve
iTunes will now restore the firmware on your iPod. This can also take up to 10 minutes. Once done you will be rebooted into jailbroken iPod OS 4.3.2!

***THANKS: Thank you to Dev-Team and I0n1c for their hard work in making this jailbreak and tutorial possible!


*thanks iclarified*  

Our new Forum is now open here or on the top tabs marks Forums, please register and post.. For the latest limera1n, rubyra1n, and all tech stories, follow us on Twitter at @iphonepixelpost or @limerain_com www.iPodSets.com - Posted using my iPhone 4